XH-W3002 Microcomputer Digital Temperature Controller Switch Module Digital Display Thermostat -50~110℃ with 10A Relay NTC Probe for Brooding, Incubation, Reptile Heating & Insulation
Brief Description
XH-W3002 microcomputer digital display temperature controller, -50~110℃ temperature measurement and control, 0.1℃ resolution, 10A relay output with NTC probe, plug and play.
Quantity
Product Overview
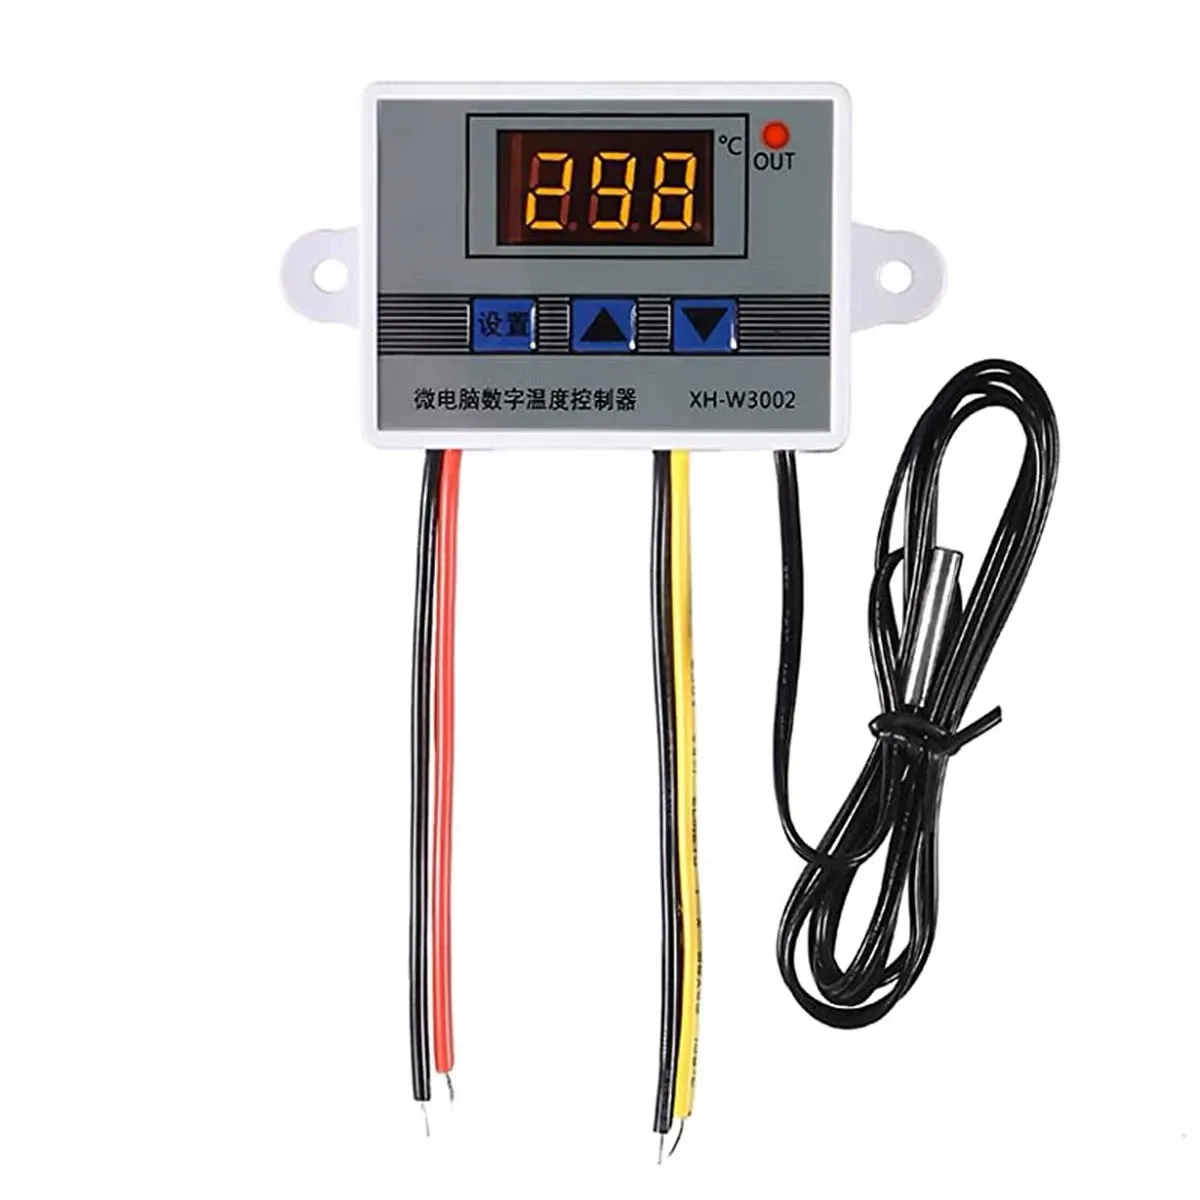
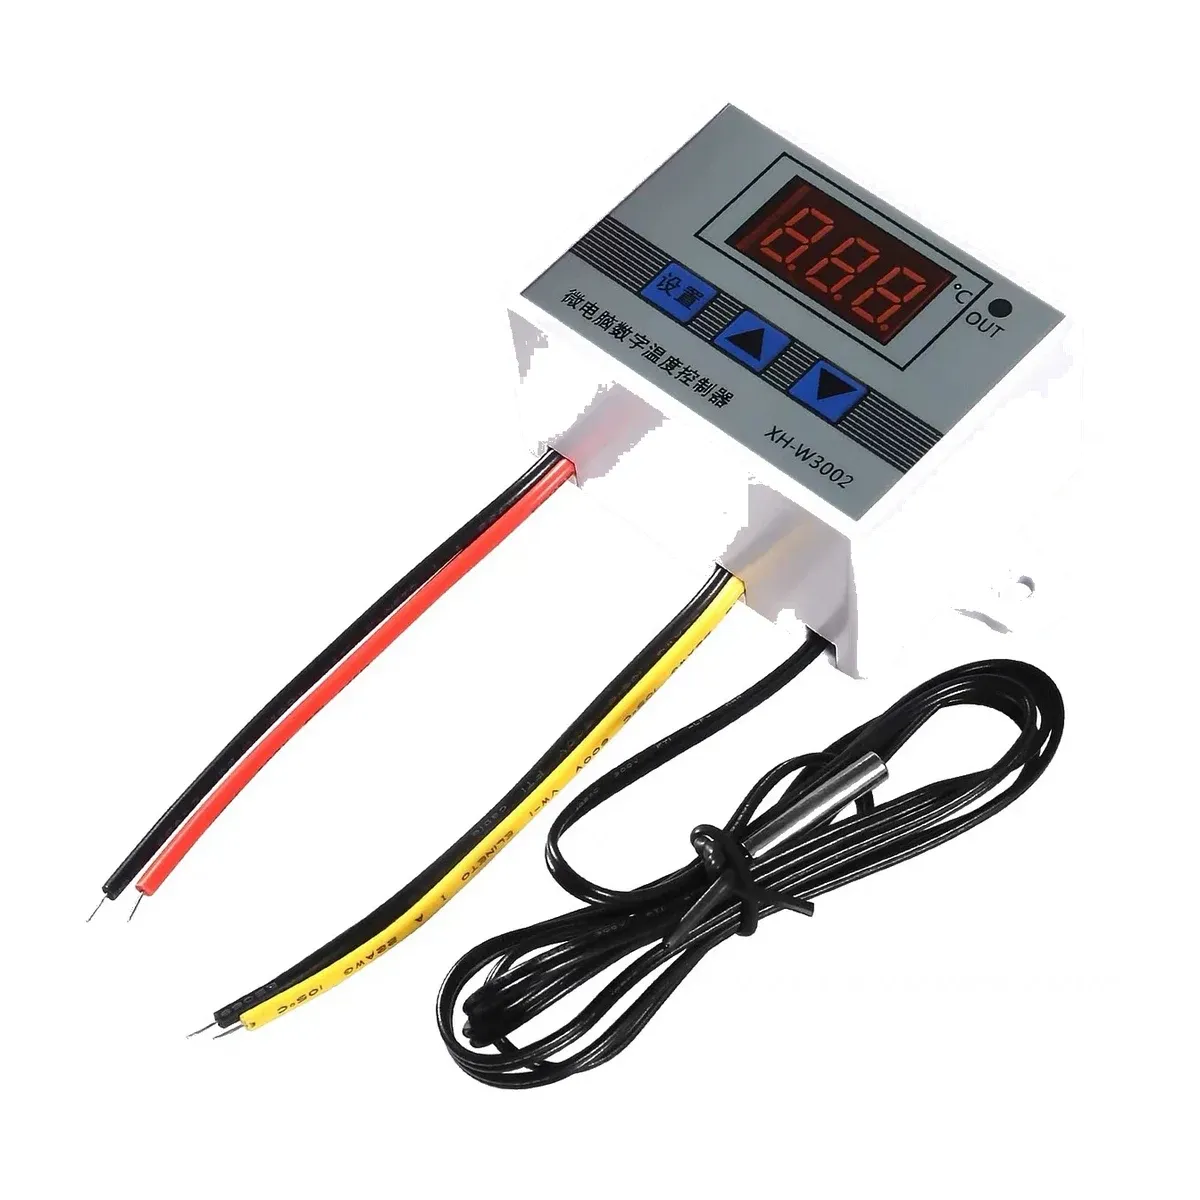
The XH-W3002 is a microcomputer digital temperature controller with a red LED digital display, a temperature measurement/control range of -50~110℃, 0.1℃ resolution, and a relay output of up to 10A. The white housing comes with mounting tabs — just connect the power supply, probe, and load and it's ready to go. Widely used for brooding insulation, incubation, reptile enclosure heating, fermentation, refrigeration, and other constant-temperature applications.
Technical Specifications
| Item | Specification |
|---|---|
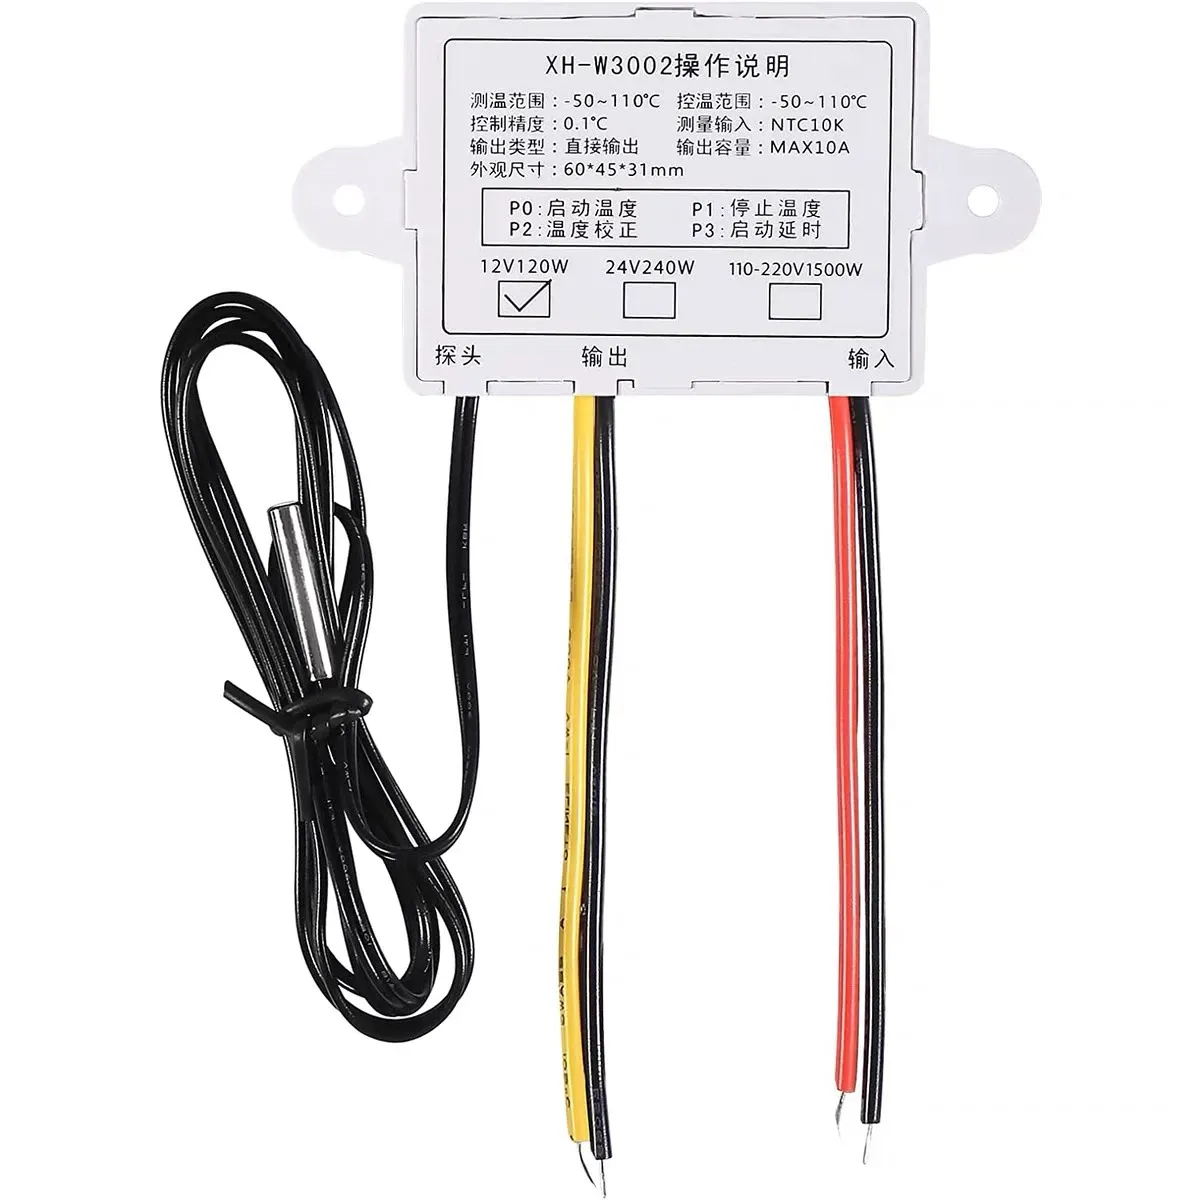
| Temperature Measurement Range | -50~110℃ |
| Temperature Control Range | -50~110℃ |
| Control Accuracy | 0.1℃ |
| Measurement Input | NTC 10K probe (included, cable length approx. 1m) |
| Output Type | DC direct output, max 10A |
| Available Power Supply Versions | 12V/120W, 24V/240W, 110-220V/1500W (shipped according to the option selected) |
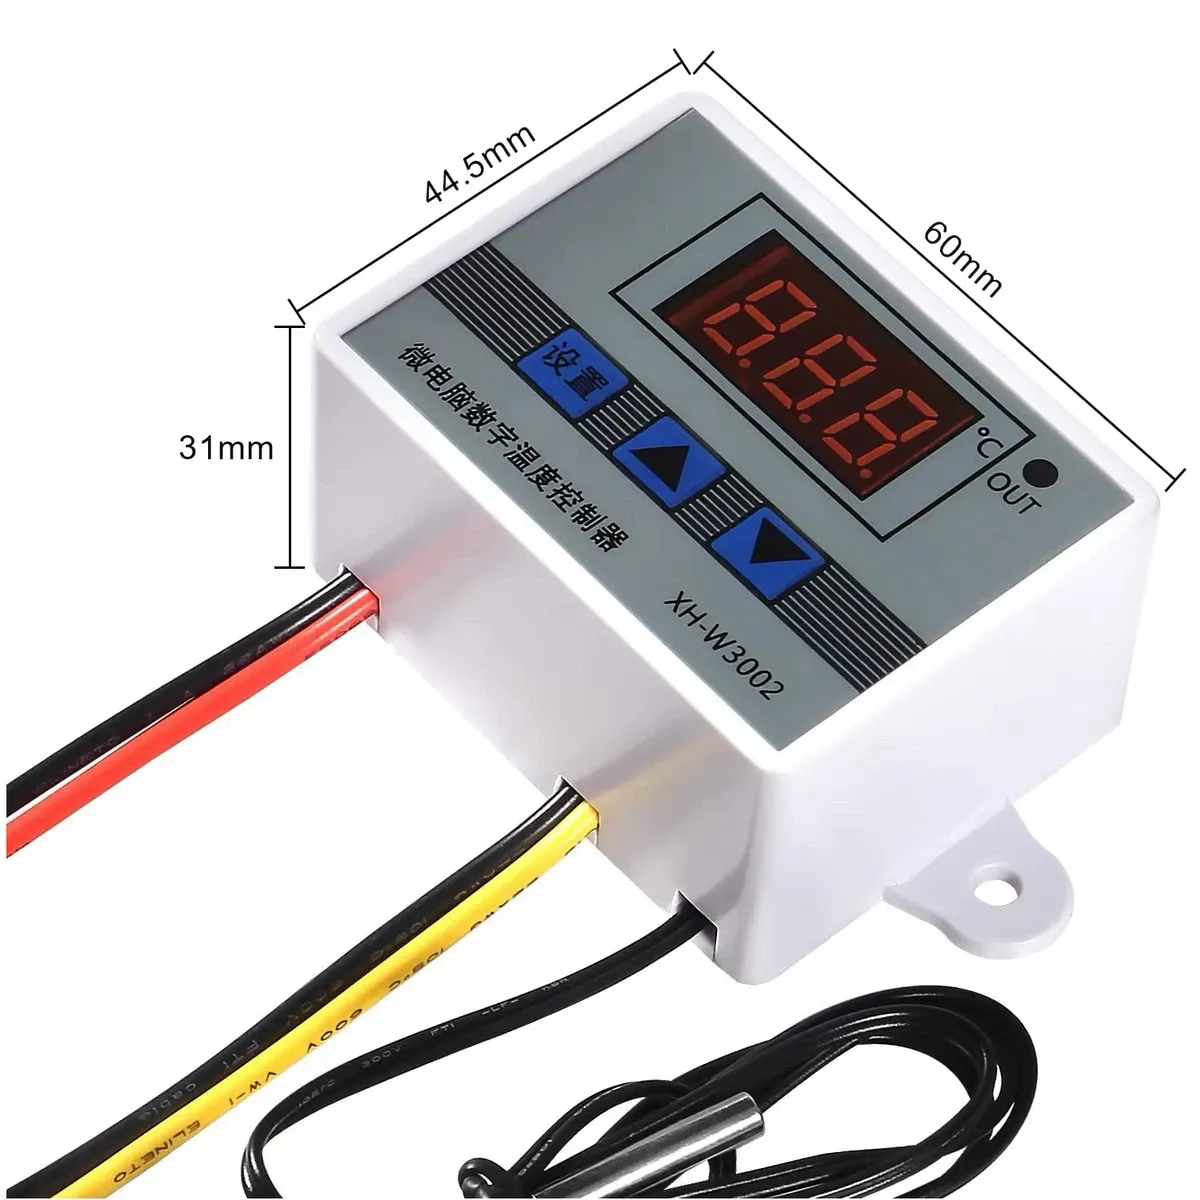
| Dimensions | 60×45×31mm |
Buttons and Parameter Settings
Three buttons on the panel: the SET button enters/confirms parameters, and the ▲▼ buttons adjust values. Configurable parameters: P0 start temperature, P1 stop temperature, P2 temperature calibration, P3 start delay. For example, for brooding insulation: set P0=30℃ (heating starts below 30℃) and P1=33℃ (stops at 33℃), keeping the nest temperature stable within the 30-33℃ range.
Typical Applications
Brooding insulation for button quail/quail, hatching eggs, reptile enclosure heating pad/ceramic lamp control, fermentation tank temperature control, converting a refrigerator into an incubator, aquarium water temperature control (with a heater).
FAQ
Q: How do I set the start and stop temperatures?
A: Press and hold the "SET" button to enter the parameter items. P0 is the start temperature and P1 is the stop temperature. Adjust them with ▲▼ and press "SET" to save. The settings take effect once the screen returns to the temperature display.
Q: How large a heater can it handle?
A: The output circuit supports a maximum of 10A: approximately 120W for the 12V version, 240W for the 24V version, and 1500W for the 110-220V version. For higher power, use this board to control an AC contactor/intermediate relay.
Q: Can I extend the probe cable if it's not long enough?
A: Yes. The NTC probe is a two-wire type; extend it with wire of the same specification and insulate the connections properly. This has essentially no effect on accuracy.